Creating a table
Set up and customize tables for your enhanced dining experience.
Using tables effectively is a key component to managing your restaurant with ORDR. Each table can be equipped with a unique QR code, allowing customers to browse the menu, place orders, and make payments conveniently. In this guide, we’ll walk you through the process of creating a table on ORDR.
Navigate to the Tables page
Start by heading over to the Tables page in your ORDR management interface. You can find this page by clicking on the Tables link in the left-side menu.
Adding a table
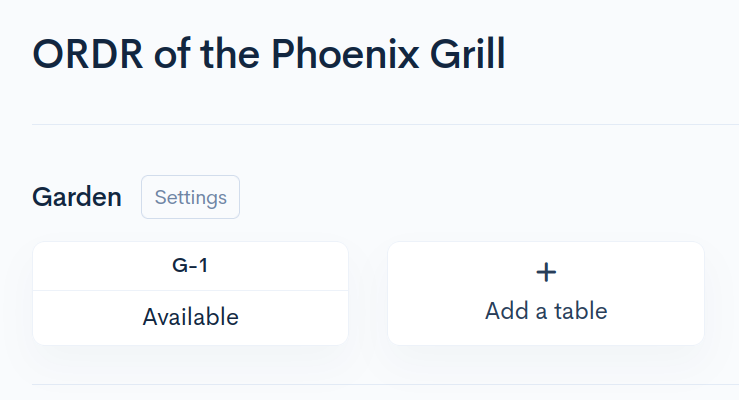
Once you’re on the Tables page:
- Locate the section where you wish to add a table.
- Click on the Add a table button within the desired section.
Choose a table number
After clicking “Add a Table”, you will be prompted to enter a table number and a table code. All tables must have a unique number. The table number is crucial as it will be printed on all associated tickets and receipts, helping in tracking and service management.
Adding a QR code to your table
To empower your customers with the ability to browse the menu, place orders, and pay right from their seats, you need to assign a QR code. This can be done when you create a table or at a later time.
You will then be able to allow or restrict what the customer can do from your location settings.
Finishing up
Click on the Confirm button to finalize the creation of your table. Your new table will now appear in the designated section on the Tables page.
If you encounter any issues during this process or have further queries, don’t hesitate to reach out to our ORDR support team. We’re here to help you have the best experience possible with ORDR.