Table sections
Create table sections for your restaurant and choose how each area should be handled.
In ORDR, you can create different sections to reflect your restaurant’s physical layout. This can be especially useful for larger establishments with multiple areas such as main dining, private rooms, outdoor patio, bar area, etc. Creating sections will help streamline operations by providing a clear picture of table assignments and availability.
Each section can then be configured with its own set of rules and restrictions. For example, you can choose to only show certain menus in the bar area, or require that your orders are paid for before they are sent to the kitchen.
Navigate to the Tables page
Start by heading over to the Tables page in your ORDR management interface. You can find this page by clicking on the Tables link in the left-side menu.
First setup
The first time you access the Tables page, you will be offered to create a few sections for your location with our “Magic” setup. This will create up to 3 sections and fill them with 10 tables each. You can then edit or delete these sections as needed.
If you prefer a more hands-on approach, you can also create sections manually. This is what we’ll cover in the next section.
Creating a new section
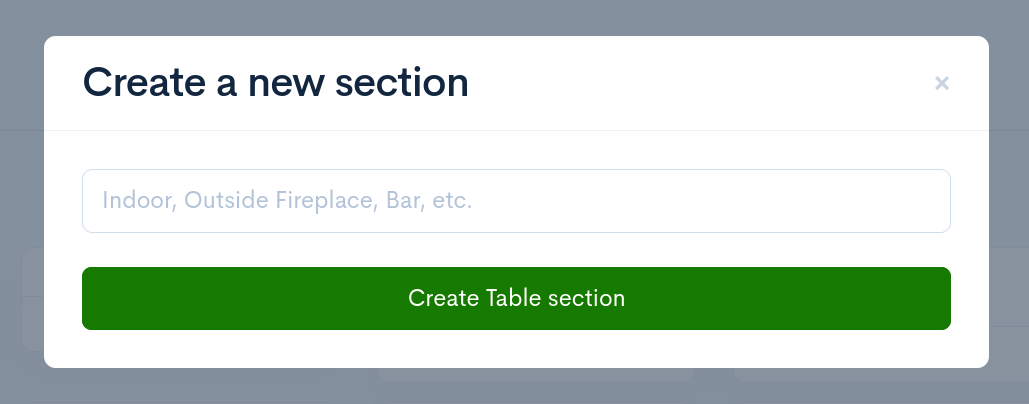
- On the Tables page click on the Add section button located at the top right of the page.
- Choose a name for your new section (e.g., ‘Outdoor Patio’).
- Confirm the creation of the new section.
The section will now appear in the list of sections on the Tables page. These are listed alphabetically.
You can now add tables to your new section. Checkout our guide on creating tables for more information.
Conclusion
Creating sections in ORDR allows you to better organize your restaurant’s layout, manage table assignments, and improve service efficiency. Should you need to edit or delete a section, you can do so from the same “Tables” page where you created them. If you need additional assistance, please contact your restaurant manager or ORDR support.