The bills and receipts ORDR prints, and the receipts it emails to customers, can carry your logo at the top. You can set one logo for the whole business, and a different logo for any location that trades under its own name.
When a location has its own logo, its bills and receipts use that one. When it does not, they use the business logo.
Prepare the image
- Use a PNG, JPG or GIF file. ORDR Staff suggests up to 1200 by 600 pixels, and shrinks a larger image to fit.
- Prefer a transparent or white background. Receipt printers print in black on white paper, so a logo on a coloured background prints as a dark block.
- Simple, bold logos print best. Fine lines and small text may not show up on a receipt.
Set a logo for one location
- In the left-hand menu, open Restaurant settings and choose General.
- Scroll down to Logo.
- Press Browse and pick your image.
- Press Save Location.
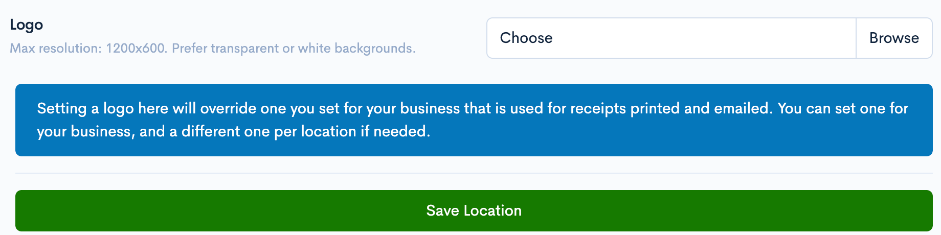
Once saved, a small preview of the logo appears next to Logo. Press it to see the full image.
If you have more than one location, the page reminds you that a logo set here replaces the business logo for this location only.
Set one logo for the whole business
Only staff with the admin role can do this.
- In the left-hand menu, open Settings and choose Finance.
- On the Business profile tab, scroll down to Logo.
- Press Browse and pick your image.
- Press Save Business profile.
Every location without its own logo now uses this one.
Change or remove a logo
- To change it, follow the same steps and pick the new image. The new logo replaces the old one when you save.
- To remove it, tick Remove logo under the preview and save. A location whose logo you remove goes back to using the business logo.
Check it
Print a bill or a receipt for a test order. If the logo is missing, check you saved the page after picking the image, and that you set it on the right location: the location’s name shows under the Location settings heading.