In ORDR Staff, kitchen tickets print by station. A station is a place where orders are made, such as the kitchen, the bar or the pizza oven, and each station has one printer. Every location starts with one station called Main, and anything not sent to another station prints there.
If you want drinks to print at the bar and food in the kitchen, you need a station for each, a printer on each station, and each menu item pointed at the right station.
Add a station
- In the left-hand menu, open Restaurant settings and choose Stations.
- Press Add.
- Type a name staff will recognise, for example
BarorKitchen. - Press Create Kitchen station.
The new station appears in the list under Main.
Rename a station
- Go to Restaurant settings, then Stations.
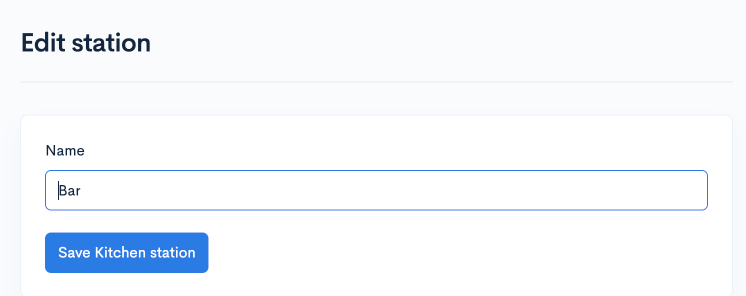
- Press Edit next to the station.
- Change the Name.
- Press Save Kitchen station.
The Main station cannot be renamed or removed.
Give a station its printer
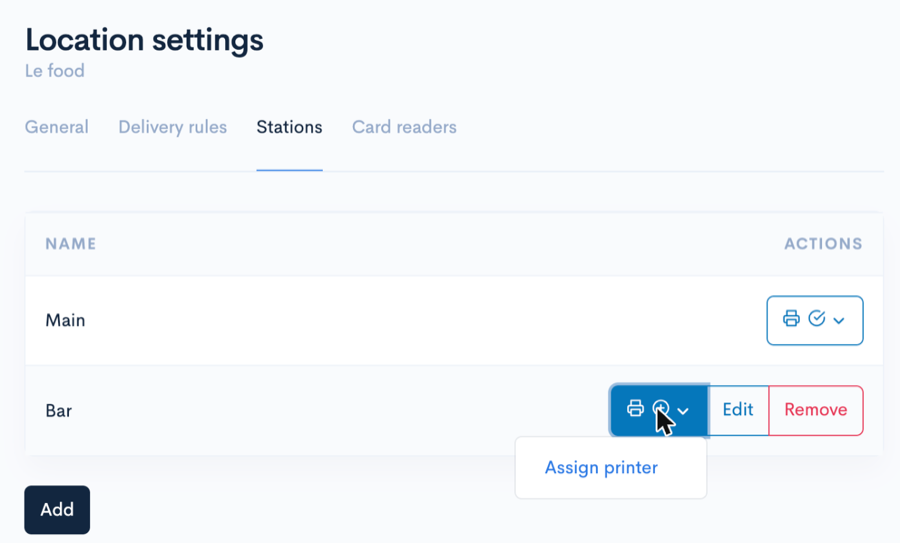
Each station has a printer button on the right of its row. The icon on it tells you the printer’s state: a plus sign means the station has no printer yet, a tick means its printer is online, and a crossed-out lightning bolt means ORDR cannot reach it.
- On the Stations page, press the printer button on the station’s row.
- Choose Assign printer.
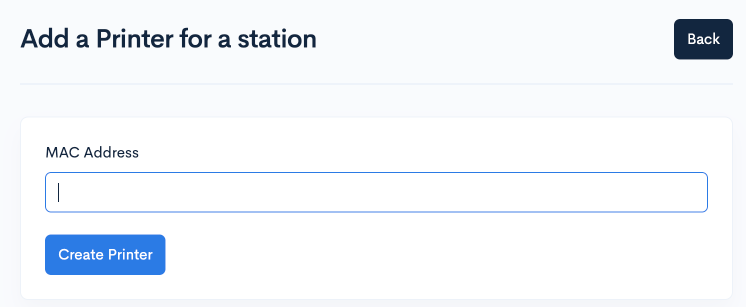
- In MAC Address, type the printer’s MAC address. It is printed on the printer’s settings page and looks like
00:11:62:aa:bb:01. - Press Create Printer.
The printer must already be switched on and connected to ORDR’s print server. If it is not, follow Set up a printer from its own web page first.
Check a printer works
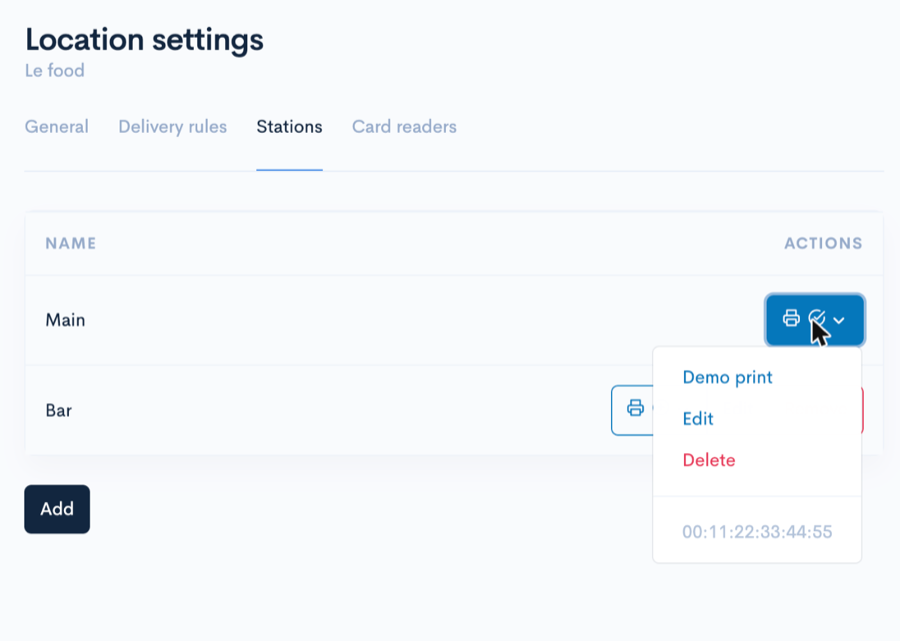
- On the Stations page, press the printer button on the station’s row.
- Choose Demo print. A short test ticket should print within a few seconds.
If Demo print is greyed out, ORDR cannot see the printer: check it is switched on, has paper and is connected to the internet.
The same list shows the printer’s MAC address at the bottom, which is useful for checking you have the right printer on the right station. To move a printer to another station, choose Delete here, then assign it again on the other station.
Choose where each menu item prints
Once you have at least one station besides Main, each item on a menu can be sent to a station.
- In the left-hand menu, choose Menu builder.
- On the menu’s row, press Options, then Edit items.
- Open the section, then press the pencil icon next to the item.
- In Kitchen station, choose the station, for example
Bar. - Press Save Menu item.
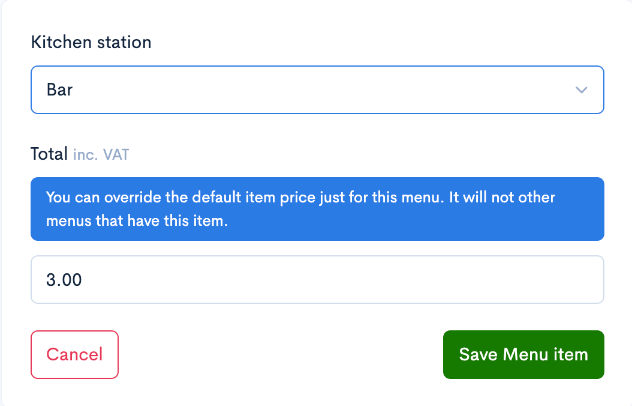
This setting belongs to the item on that menu only. If the same item is on more than one menu, for example a lunch menu and a dinner menu, set its station on each menu.
What the ticket shows
Each ticket shows the table it is for, printed exactly as the table’s number is saved on the Tables page. Table numbers are saved in capital letters, so a table saved as t12 prints as T12. If you want the kitchen to see Terrace 4 rather than 4, open the table on the Tables page, press Edit table and change its number. Each number must be unique within the location.
If something prints in the wrong place
- An item prints at Main instead of its station. Check the item’s Kitchen station on every menu it appears on.
- Nothing prints at a station. Check the station has a printer and that Demo print works.
- Two stations print the same ticket. Check the same printer has not been assigned to both. Each printer’s MAC address shows in its printer button.